In the UK, the installation of a boiler is a critical process that ensures warmth and comfort in homes, especially during the chilly months. Understanding the time it takes to install a boiler is essential for homeowners planning to upgrade or replace their heating system. 

This article provides a comprehensive guide on the duration of boiler installation, factors influencing the time frame, and essential considerations.

Understanding the Boiler Installation Process

Boiler installation is a meticulous task that requires professional handling. The process starts with selecting the right boiler for your home, which depends on various factors like size, type of property, and heating requirements. Once the selection is made, the actual installation process begins.

Pre-Installation Assessment

Before the installation, a certified engineer will visit your property to assess the requirements. This assessment is crucial as it determines the type of boiler suitable for your home and identifies any additional work needed, such as replacing old pipes or radiators. The pre-installation assessment typically takes a few hours.

Removal of Old Boiler

If you are replacing an existing boiler, the old unit needs to be safely removed and disposed of. This process can take several hours, depending on the complexity and accessibility of the boiler.

Installation of the New Boiler

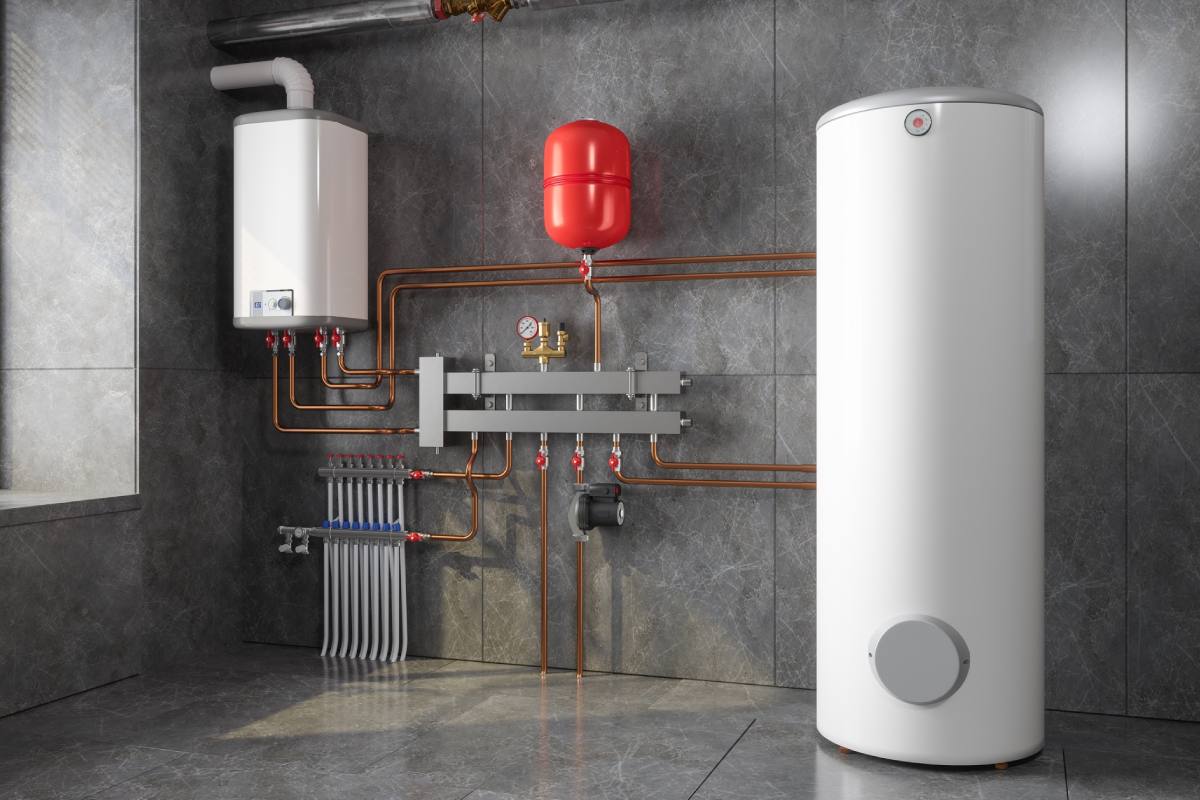
The heart of the matter, boiler installation, is a task that demands precision and expertise. It connects the boiler to water pipes, gas lines, and the electrical system. 

The time taken for this varies significantly based on the type of boiler and the complexity of your home’s heating system. A straightforward replacement with minimal additional work might take a day. However, it can extend to two or three days for more complex installations or where extensive pipe work is required.

Factors Affecting Installation Time

Several factors can influence the duration of boiler installation. These include:

  • Type of Boiler: Combi boilers are quicker to install than system or conventional boilers as they require less pipework.
  • Location of the Boiler: Installing a boiler in a new location takes longer due to the additional work in rerouting pipes.
  • Complexity of the System: A more complex heating system with multiple radiators or underfloor heating will extend the installation time.
  • Condition of Existing Pipework: If the existing pipework is old or not compliant with current standards, additional time is needed for replacement or modification.

Preparing for Installation

To ensure a smooth installation process, there are a few steps homeowners can take. Clearing the area around where the boiler will be installed and ensuring easy access for the engineer can save time. Additionally, discussing your heating needs and any concerns with the engineer beforehand can help tailor the installation to your specific requirements.

The Final Touch: Commissioning and Testing

After installation, the boiler needs to be commissioned and tested. This process includes checking all connections, ensuring the boiler operates efficiently, and providing you with essential instructions on how to use the new system. This final step usually takes a few hours.

Making the Right Choice

Choosing a qualified and experienced engineer is crucial for a successful boiler installation. Opting for accredited professionals ensures that your boiler is installed safely and efficiently. Additionally, it’s worth considering the warranty and aftercare services offered by the installer.

Your Pre-Installation Checklist: The Digital Tool for a Faster Boiler Installation

Think of your boiler installation like a surgical procedure for your home: the better the pre-op preparation, the smoother, faster, and more successful the operation. While your engineer handles the technical expertise, your role in preparation is crucial. This digital checklist is your power tool to minimise disruption, prevent costly last-minute surprises, and shave valuable hours off the installation time.

Bookmark or print this page. Completing these steps before your engineer arrives is the single most effective way to ensure a swift and efficient install.

Phase 1: The Access & Area Audit (1-2 Days Before)

A clear path and workspace are non-negotiable for speed and safety.

Clear the ‘Golden Path’: From the entry point to the boiler location (old and new), ensure a clear, unobstructed hallway and staircase. Remove rugs, coat stands, side tables, and any tripping hazards.

Create a 2-Meter Work Zone: Clear the immediate area around the old boiler and the new boiler’s location. This means emptying cupboards, removing stored items from nearby shelves, and taking down pictures from adjacent walls.

Vehicle Access: If possible, reserve parking close to your property for the engineer’s van. This saves them time hauling tools and the new boiler unit back and forth.

Pet & Child Plan: For their safety and to allow the engineer to work unimpeded, plan for pets and young children to be in a different part of the house or with a caregiver on installation day.

Phase 2: The Information & Decision Hub (Before Quote Sign-Off)

Being prepared with information prevents day-of-delay discussions.

Know Your System: Take clear photos of your existing boiler, thermostat, hot water cylinder (if you have one), and pipework around the boiler. This visual record can be invaluable.

Locate Key Utilities: Identify and label your gas stop tap, water mains stopcock, and electrical consumer unit (fuse box). Ensure they are easily accessible and not stuck/frozen.

Decide on Upgrades: Have you already decided on a magnetic system filter or smart thermostat? Informing your engineer beforehand means they can bring the right parts and allocate time, rather than deciding on the day.

Flush-Track Your Radiators: Note which radiators heat up slowly or have cold spots. If a power flush is recommended, agreeing to it in advance schedules it seamlessly into the installation timeline.

Phase 3: The Day-Of Readiness Sprint (Installation Morning)

The final touches for a seamless start.

Wi-Fi Password Ready: For modern boilers with smart controls, having your Wi-Fi network name and password to hand allows for instant connectivity and programming.

Surface Protection: Have old sheets or dust covers ready if you wish to protect flooring or furniture in adjacent rooms from dust (though reputable installers will bring their own covers).

Hot Water & Snacks: Drain your existing hot water cylinder (if applicable) as instructed. Fill a flask with hot water for drinks, as your water supply may be off intermittently.

Ask Your Final Questions: Write down any last-minute queries about controls, settings, or warranty so you can discuss them efficiently during the commissioning demo.

The Digital Advantage: Why This Checklist Wins

By following this guide, you’re not just a homeowner; you’re an active project manager. This preparation:

  • Reduces Diagnostic Time: Clear access and information let the engineer start work immediately.

  • Prevents “While You’re Here…” Delays: Pre-agreed upgrades keep the project on schedule.

  • Enhances Safety: A clutter-free zone is a safe working environment.

  • Empowers You: You enter the process informed and in control.

Ready to make your installation as efficient as possible? Use this digital checklist to prepare, and ensure you partner with a Gas Safe Registered engineer. For a tailored quote and to discuss how to streamline your specific installation, get in touch with our expert team today or explore our guide on How to Choose the Right Boiler Engineer: 5 Essential Credentials.

Pro Tip: For the ultimate preparation tool, download our printable one-page PDF checklist to tick off tasks as you go.

Wrapping Up: The Warmth of a New Beginning

The time taken to install a boiler varies depending on several factors but typically ranges from one to three days. 

The key to a hassle-free boiler installation lies in choosing the right boiler, preparing your home for the installation, and selecting a certified engineer. With the right approach, the installation of a new boiler becomes not just a home improvement task but the beginning of a warmer, more comfortable home.