You’ve nurtured your tomato plants from seeds, watched them flower with promise, only to discover heartbreaking brown, leathery spots rotting the bottom of your first fruits. This is blossom end rot (BER), and while it looks like a disease, it’s almost always a calcium deficiency disorder. But here’s the crucial insight most gardeners miss: The problem isn’t necessarily a lack of calcium in your soil—it’s often the plant’s inability to move that calcium to the developing fruit. This comprehensive guide dives deep into the soil science behind calcium uptake, providing both emergency treatments for affected plants and long-term strategies for calcium-rich, bountiful harvests.
Table of Contents
Why Tomatoes Crave Calcium: More Than Just Strong Bones
Calcium is a crucial structural nutrient in plants, acting as the “glue” that holds cell walls together. In tomatoes, adequate calcium:
-
Prevents Blossom End Rot: Ensures firm, healthy cell development at the fruit’s blossom end (bottom).
-
Strengthens Plant Structure: Contributes to robust stems and roots, improving drought and stress tolerance.
-
Enhances Fruit Quality: Leads to firmer, longer-lasting fruit with better shelf life.
-
Aids Nutrient Uptake: Helps regulate the absorption of other nutrients.
The Blossom End Rot Paradox: Why Your Soil Test Might Be Wrong
This is the most important concept for solving calcium issues. You can have abundant calcium in your soil but still see blossom end rot because calcium is immobile in plants.
How Calcium Moves (Or Doesn’t):
Calcium travels with water through the plant’s xylem (water-conducting tissues). It moves upward from roots to leaves and fruit primarily through transpiration—water evaporating from leaves pulling more water (and dissolved calcium) up from the roots.
Therefore, any condition that disrupts consistent water uptake or transpiration causes calcium deficiency in fruits, even with perfect soil levels.
Primary Causes of Calcium Deficiency in Fruit:
-
Inconsistent Watering: Fluctuating between dry and wet soil is the #1 cause. Calcium only moves with water.
-
Rapid Early Growth: Excessive nitrogen fertilizer promotes fast leaf growth, diverting calcium to new leaves instead of fruits.
-
Root Damage: From cultivation, pests, or disease.
-
Cold or Waterlogged Soils: These conditions stunt root function.
-
Low Actual Soil Calcium: Less common, but possible in very sandy, acidic, or intensely cropped soils.
-
High Competing Cations: Excessive potassium, magnesium, or ammonium nitrogen can inhibit calcium uptake.
Diagnosis: Is It Really a Calcium Problem?
Before adding anything, diagnose correctly:
-
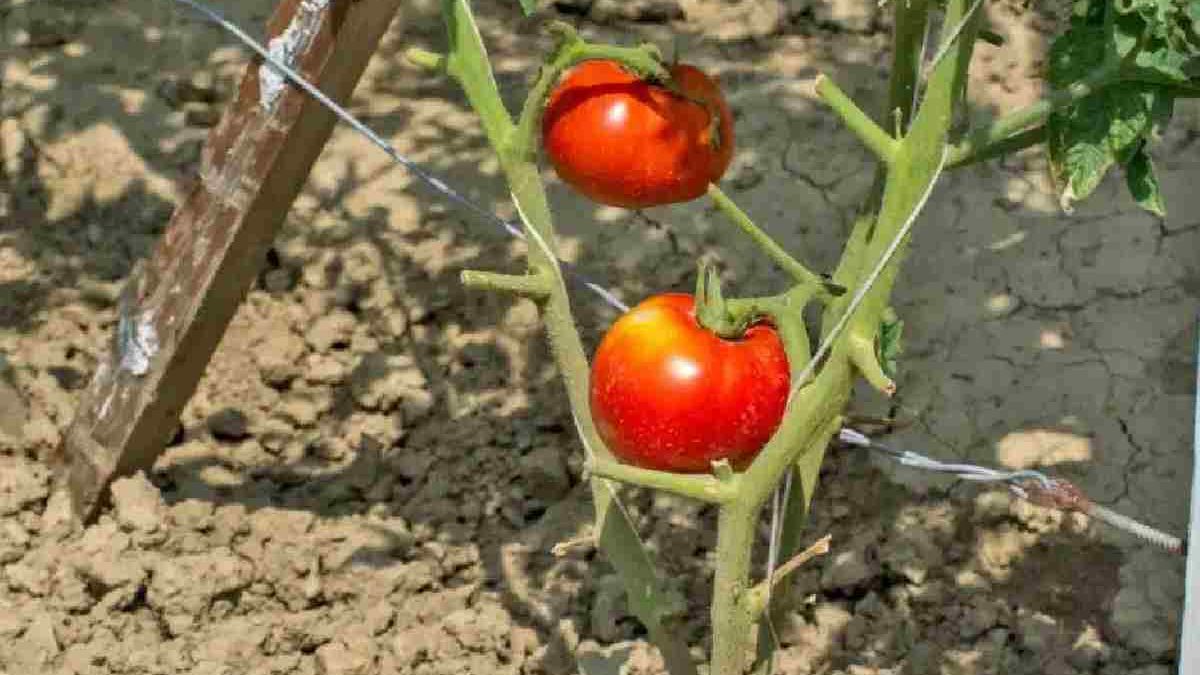
Blossom End Rot Symptoms: Sunken, dark brown/black leathery patch at the blossom end. Starts small and enlarges. Usually affects earliest fruits.
-
Leaf Symptoms (Advanced Deficiency): Younger leaves may show distortion or yellow margins, but often leaves look perfect while fruit rots.
-
Soil Test: The only way to know your soil’s actual calcium levels and pH. Ideal pH for tomatoes is 6.2-6.8, where calcium is most available.
5 Proven Methods to Add Calcium to Your Tomato Plants
1. Soil Amendment Before Planting (Best Prevention)
-
What to Use: Garden Lime (Calcium Carbonate) or Gypsum (Calcium Sulfate)
-
When: At least 2-3 weeks before transplanting, ideally when preparing beds.
-
How Much: Follow soil test recommendations. Generally, 1 cup of lime per plant worked into planting area.
-
Why: Lime raises pH (good for acidic soils), gypsum adds calcium without altering pH.
2. Fast-Acting Foliar Spray (Emergency Treatment)
-
What to Use: Calcium Chloride or Calcium Nitrate dissolved in water. Avoid chloride varieties on hot, sunny days.
-
When: At first sign of blossom end rot, and weekly during fruit set.
-
Recipe: 1 tablespoon calcium chloride per gallon of water. Spray directly on leaves and developing fruit clusters in early morning.
-
Important: This is a supplement only, not a cure. It provides some direct calcium to fruit but doesn’t fix underlying uptake issues.
3. Organic Long-Term Solutions
-
Crushed Eggshells: Must be finely ground (coffee grinder works) and composted or tilled in months in advance. Whole shells in planting holes do virtually nothing in one season.
-
Oyster Shell Flour: Excellent slow-release calcium source.
-
Dolomitic Lime: Provides both calcium and magnesium. Use only if your soil test shows low magnesium.
-
Compost and Worm Castings: Improve overall soil structure and nutrient availability.
4. Consistent Watering Protocol (The Most Critical Step)
-
Deep, Infrequent Watering: Water thoroughly when top 2 inches of soil are dry. Aim for 1-1.5 inches per week.
-
Mulch Heavily: 3-4 inches of straw, wood chips, or shredded leaves to regulate soil moisture and temperature.
-
Drip Irrigation Preferred: Delivers water directly to roots, minimizing evaporation and keeping foliage dry.
5. Fertilizer Management
-
Use a balanced fertilizer (like a 5-5-5 or 8-8-8) or one formulated for tomatoes.
-
Avoid excessive nitrogen, especially the ammonium form (like in fresh manures), which competes with calcium uptake.
-
Side dress with calcium nitrate during flowering and fruit set if needed.
Step-by-Step Action Plan for Existing Blossom End Rot
Week 1 (Crisis Management):
-
Remove severely affected fruits to redirect plant energy.
-
Apply foliar calcium spray early in the morning.
-
Deep water your plants and apply mulch if not already present.
-
Check soil moisture daily—keep it consistently moist like a wrung-out sponge.
Week 2-4 (Recovery & Prevention):
-
Continue weekly foliar sprays on new fruit clusters.
-
Side-dress plants with a handful of gypsum watered in well.
-
Monitor new fruits closely. They should develop normally if the issue is corrected.
Common Myths & Mistakes to Avoid
❌ “Adding eggshells to planting holes fixes blossom end rot this season.”
✅ Truth: Eggshells decompose far too slowly. They’re a long-term soil amendment, not a quick fix.
❌ “More calcium is always better.”
✅ Truth: Excess calcium can lock up other nutrients like phosphorus and potassium.
❌ “Blossom end rot is contagious.”
✅ Truth: It’s a physiological disorder, not a disease. It won’t spread plant-to-plant.
❌ “Once a fruit has BER, it will recover.”
✅ Truth: Damaged fruit won’t heal. Remove it to help the plant.
Preventative Calendar for Next Season
-
Fall/Spring (Before Planting): Test soil pH and calcium levels. Amend with lime or gypsum as needed based on test results.
-
2 Weeks Before Transplanting: Work compost and organic calcium sources into beds.
-
Planting Day: Use a balanced starter fertilizer.
-
Early Flowering: Begin monitoring watering carefully. Consider first preventative foliar spray.
-
Fruit Set: Side-dress with calcium nitrate if using synthetic fertilizers.
Product Recommendations
-
For Soil Testing: Home test kit or professional service through your local extension office.
-
Best All-Around Amendment: Gypsum – adds calcium without pH worries.
-
Best Foliar Spray: Bonide Rot-Stop (ready-to-use calcium chloride).
-
Best Organic Source: Oyster Shell Flour – fine texture for faster availability than eggshells.
Conclusion: Consistency is Key
Solving calcium issues in tomatoes ultimately comes down to managing moisture to manage calcium transport. By ensuring consistent soil moisture, maintaining proper soil pH, and providing adequate (not excessive) calcium, you’ll prevent blossom end rot at its source. Remember that perfect-looking tomatoes start with healthy soil and consistent care—the calcium will follow where the water flows.